Spring and Summer are wonderful times to find and enjoy the little things.
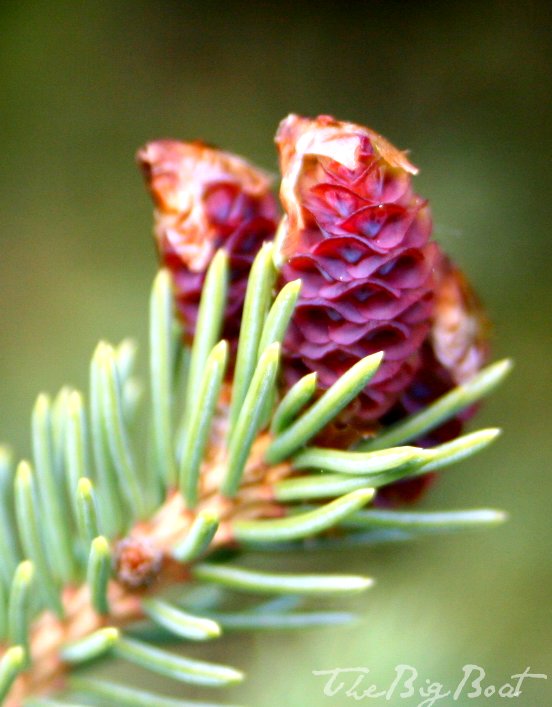
Have you ever wondered how pine trees produce their pine cones? No? Me either. However, this spring I saw these little baby pine cones for the first time.
They are purple! There are even smaller ones that are red, like tiny wild strawberries perched among the boughs. Even though they are tiny, every little scale and emerging seed is there in perfect wholeness.
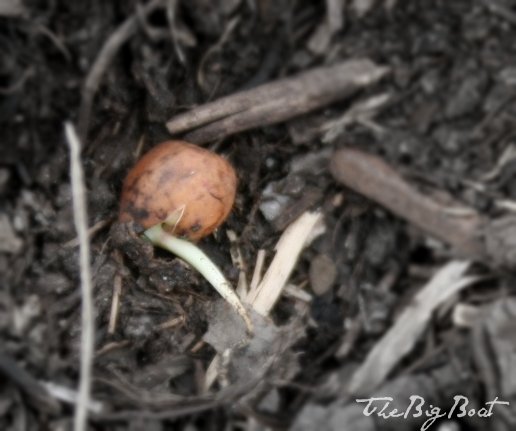
One poor little seed pea didn’t quite get buried in the garden.
So we saw his very beginnings, breaking out of the cold hard shell to begin new life.
These little beginnings don’t last long. The cones grow, and turn hard and brown. The peas get green and tall and climb up the trellis. Spring turns to summer and we’ll miss the little beauties if we run to fast through our days.
Have you taken the time to slow down and enjoy the little things? What little things are growing your garden or yard?
With summer, comes outdoor grilling and that means that you may have a bag of natural briquette charcoal at your house. Most natural briquette charcoal comes in paper bags, which is nice and re-usable, but also not very water-proof. And if you want the charcoal to be near the grill, outside on the back porch, you need some kind of storage option. You could easily spend $20 on a name-brand, dedicated charcoal storage box, but that would be wasteful, and single-purposed. And since I’m a registered multi-tasker I had to come up with something better, upcycled and creative: The Reusable Kitty Litter Container turned Natural Briquette Charcoal Holder!
The empty kitty litter container just happens to be the same height as the little chairs that fit around the little table the kids use to eat their picnic lunches. Ah-Ha! A dual purpose natural briquette charcoal container and children’s lunch stool, all in one! I made a little cushion with a skirt, from my fabric stash to sit on the top to make it comfy to sit on. It turns out that the 28 lb cat litter box held a whole bag (minus one grille’s worth) of natural briquettes charcoal.
How do you store your outdoor natural charcoal briquettes? Do you find uses for other empty containers at your home?
Sweet Greens note: I think this is a great idea if you already have the large kitty litter containers at your home. However, when purchasing kitty litter, I highly suggest considering an Eco friendly option such as Nature’s Earth Feline Pine Scoop Cat Litter or Swheat Scoop Multi Cat Natural Wheat Cat Litter. Both of these brands are made from renewable resources that are biodegradable and contain no chemicals. They are also completely safe for your kitty too!
I love, love, love this Pavillion style floor model. I love that there is a main living structure and that the bedrooms are separate. I would eliminate the back bedrooms and make the living area larger. I would also make the right side room a bedroom with bath to match the left side bedroom. The last thing that I would do, is downsize the entire floor plan, since there is so much space for outside living on the decks. Isn’t it fantastic?
Could you live in a Pavillion style home?
Would you like having an open floor plan?
Would you like having the bedrooms separate?
I love gardens and I love harvesting fresh veggies from the garden, but I hate to dig! I do own a shovel, and a garden fork, but the idea of digging up the sod for a new garden bed is just not on my list of loves. So I’ve come up with a great way to garden without digging. Actually it’s not really new, lots of people do it, but here’s my method for a no dig garden, also known as a sheet composting gardening or lasagna gardening.
Here are my simple 5 steps to get you started.
Step 1: Plan it.
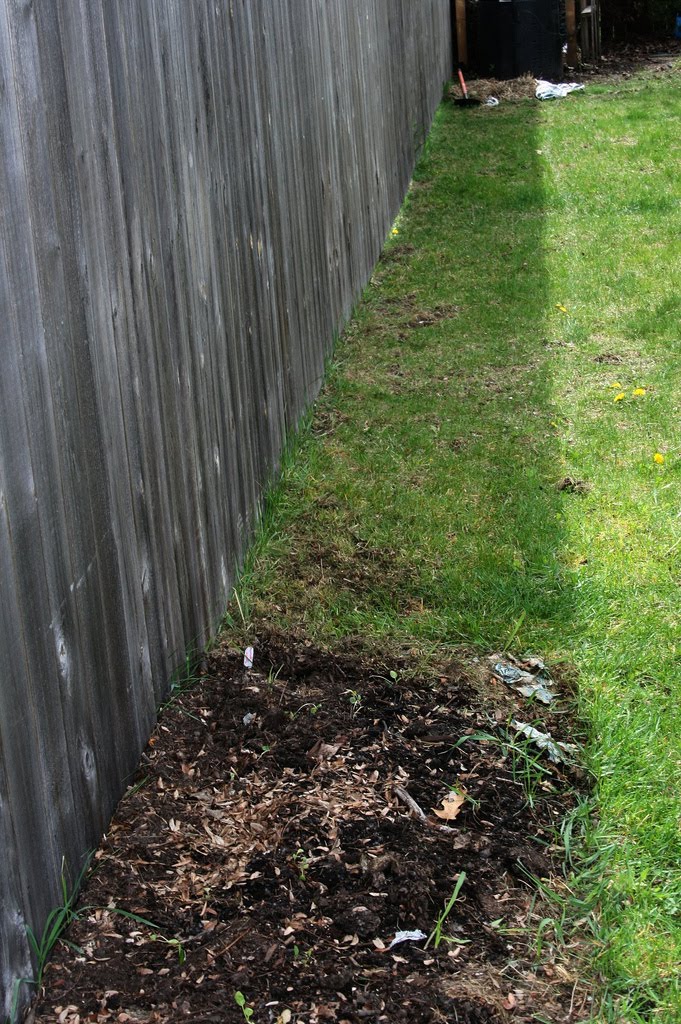
When designing what my garden bed will look like, I like the mower method best. The mower method is where I mow the area I want the garden to be. When choosing a shape for your garden you can use a garden hose to create a free form shape.
During springtime in Minnesota, we are lucky to be able to see the grass, so there isn’t much difference between where I mowed and not. However, can you see that convenient shadow in the photo above? It happens to land right where I want to add on to my first No-Dig Garden.
Step 2: Scalp it.
When I mow, I take the mower all the way down to the ground, using as low of a setting as possible, and mow the grass out the area that I want to create the bed. It won’t really get the grass roots, and it’s not even necessary, but it’s a good step to take.
Step 3: Cover it.
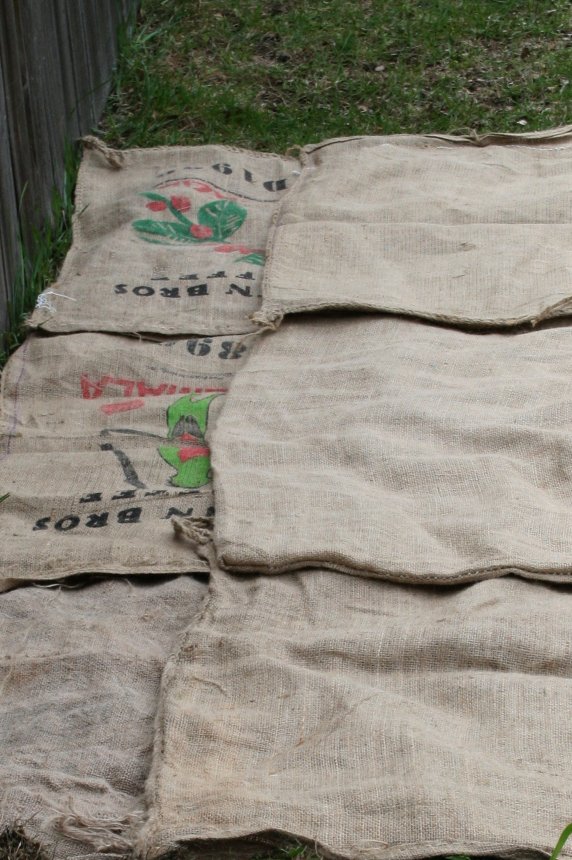
To cover the area I like to use burlap bags, since I can get them free at the coffee roaster. You can also use old organic cotton towels or sheets, newspaper or even a biodegradable weed barrier. Just cover up all that super-short grass with a material that water can penetrate, but weeds and grass won’t. I simply laid the burlap bags down on top of the grass, overlapping it just a little bit.
(Make sure your cover is decomposable, do not use polyester sheets or old carpet. The idea is that all of this material will compost and become part of your garden.)
Step 4: Mulch it.
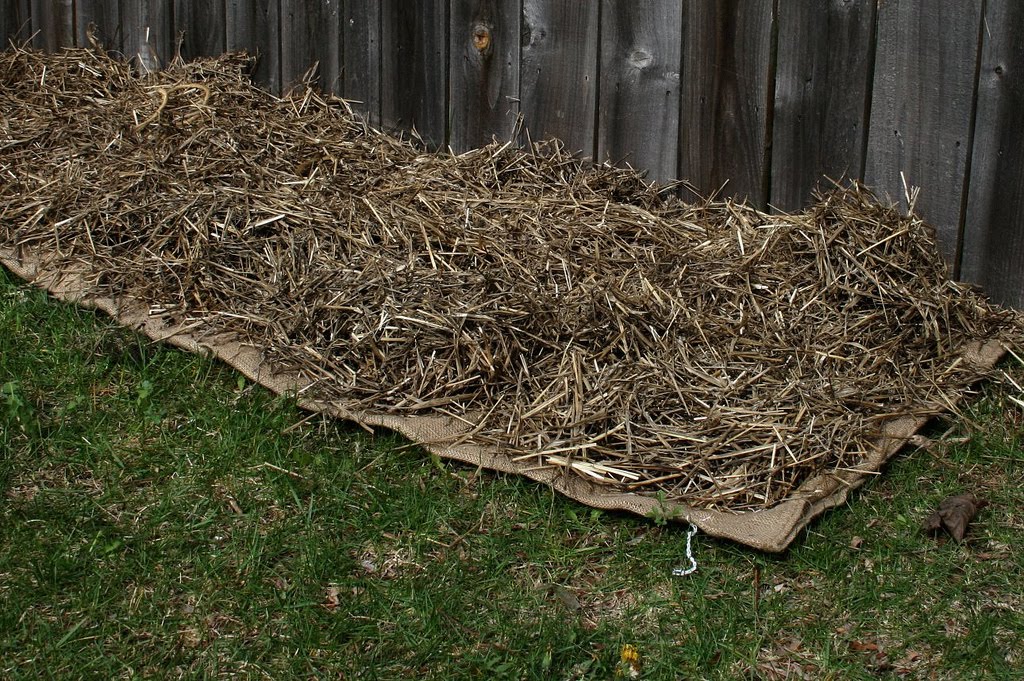
Remember when you mowed? Take all those grass clippings and cover up the burlap or paper with a nice thick layer of mulch. I use grass clippings and leaves as mulch on my gardens all summer long. If you like to decorate with straw bales in the fall, you can take them apart and put down a 4-6 inch thick layer on your garden. If you have a bin of compost ready, you can use a 4-6 inch layer of it, either under or over the mulch.
Step 5: Plant it.
Now it is time to plant your seeds, seedlings and bulbs. If the layers are nice and thick and loose, you’ll barely even need a trowel. I planted the flower bed with my fingers. Seedlings may require a little more dirt moving. If you used newspaper or old linens, you can poke a hole in the material for the roots to grow. If you are using burlap, the roots will grown right through it on their own.
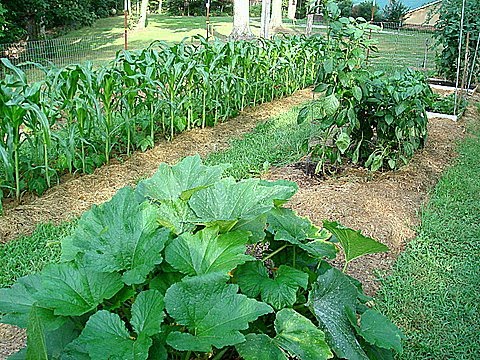
Now you have a new raised garden bed! You will want to water the bed as needed and once the plants start to get tall, keep mulching around them. You can put down more newspaper or burlap under the top mulch if you would like, just make sure it’s compostable. Next year you might want to add another layer of compost, or you might get energetic and build a box around your now raised bed!



 or
or  . Both of these brands are made from renewable resources that are biodegradable and contain no chemicals. They are also completely safe for your kitty too!