Archive | HOME AND GARDEN

Probiotics on a Budget: How to Make Homemade Sauerkraut

DSC00198

(Note: Day 1 is with green cabbage, and Day 3 is with Red. Take a look at how the cabbage “breaks down” – it’s the same amount in each container!)

Homemade sauerkraut is incredibly easy to make, is inexpensive compared to buying it in a store, and is great for you! All cruciferous vegetables (radishes, cabbage, broccoli, bok choy, etc.) naturally contain the beneficial bacteria lactobacillus, which is also found in yogurt and other fermented and cultured foods. Sauerkraut is then made by a process appropriately called lacto-fermentation, where the cabbage is submerged in a salt water solution, called brine. Then, as the sauerkraut sits, the bacteria begins to convert sugars in the cabbage into lactic acid, which is a natural preservative to prevent the growth of harmful bacteria.

Over the course of a few days, the cabbage becomes less crunchy, and the probiotics start to flourish and multiply, thus creating an amazingly tasty fermented probiotic you can eat whenever your heart desires! Here’s my recipe:

Ingredients:

  • 1 small head of red or green cabbage, about 8 cups
  • 1.5 Tablespoons of sea salt (Make sure to get sea salt and not iodized salt!)
  • Between 2-3 cups of chemical free water (spring/distilled water should be ok) If you only have tap water, let it sit out in an open container for 6 hours, and the chlorine and other chemicals will escape. Then you can use it without any trouble!

Supplies:

  1. Large knife, long enough to cut through the entire head of cabbage
  2. Cutting Board
  3. Large pitcher
  4. Several smaller mason jars, or another similar glass container with a wide mouth
  5. Cheesecloth(s) or microfiber washcloth(s) that air can easily pass through, but bugs can’t
  6. Rubberband(s) or elastic(s)  large enough to fit around the wide mouthed container(s)
  7. Cup, plate, or other object that fits inside the wide mouth container to use as a press (optional, but makes life easier)

How To:

1. Clean your cutting board, knife, and containers thoroughly, then wash your hands. It is very important to make sure that the lactobacillus bacteria have as clean of an environment as possible in which to grow. If there is a bit of bacteria on your hands when you prepare the sauerkraut, it is possible that the batch will be bad, or may even grow mold. Yuck! The salt does help prevent this, but why not give the cabbage a little boost?

2. Chop up the cabbage into pieces about as large as the nail on your pinky finger. If they’re a bit larger, that’s ok, it just helps get all of the pieces into your containers more easily. I recommend cutting the head of cabbage into four, starting with your first cut directly through the center of the stalk. Then cut those pieces in half, and then slice in small slivers until you get the size you need. This can get messy!

3. Place the cut up cabbage in a large bowl or pot, preferably not plastic. Add enough water to cover about half of the cabbage, then add the salt. Massage the cabbage with clean hands for 5-10 minutes. You’ll know it’s done when the texture of the cabbage starts to change. This is to start the fermenting process, and to dissolve the salt, so it can start it’s job of preventing the bad bacteria from flourishing.

4. Place water and cabbage into the containers, and position your press so that it pushes down the sauerkraut, and the water completely covers it. This can be a little tricky, depending on what you’re using, and may take a bit of maneuvering at first. It is very important that the water be covering the cabbage during the entire process, or the cabbage starts to rot, and you will see a moldy film appear! If you choose to not use the press, proceed with the directions, but check the containers every few hours for the first day or so and make sure that no cabbage is poking out of the water.

5. Cover with the breathable fabric, and place the elastic around the mouth of the container. Set in a room temperature spot (65-75 degrees F) for three days, and check the taste. This is when the cabbage is considered sauerkraut, and this is when you can start to jar it and put it in the fridge. If it’s not sour enough to your liking, let it sit for up to 3 weeks, and taste test along the way.

When it comes to sauerkraut, I am super impatient and eat it on day three. Maybe I’ll get my assembly line going so I can try some that has fermented longer!

Overall, my batches of sauerkraut probably cost around $1 per jar. Compare that to the pasteurized jars in the grocery stores, that’s a 75% discount, not to mention the amazing probiotic benefits! Compare it to the completely raw stuff you’ll find at your local health food store, it’s a steal!

If you’re still not set on making sauerkraut, or just don’t like the taste, I understand. We just started making water kefir, another type of probiotic drink, and I’ll show you how to make kefir soda once I have mastered it myself!

Happy Sauerkraut-ing!
Save the Planet, One Upcycle at a Time

upcycle

by Beth

I love recycling. It makes me feel like I’m doing my little part to help save the world. I also feel a little guilty whenever I drop my recycling off because I’m always thinking of ways to reuse things. A great spin on reusing your recycled and no longer needed goods is “upcycling” which you may have heard of before. Upcycling is upgrading something that would otherwise just be recycled. It’s so simple, saves money, and turns anyone into an artist!

I am an avid upcycler, and love to reuse anything I can get my hands on. A few years ago, I found an old, 70’s or 80’s style coffee table, and turned it into an ottoman with about $15 worth of supplies. It was super fun, and I got so many compliments! I also upcycle clothes, since I’m a huge thrift shopper. When I find something I can’t wear right off the rack due to size, I whip out my sewing machine, and get to work. All it takes is a few stitches to turn an old skirt into a dress, or make a quilt out of a bunch of T-shirts. Now, you don’t have to do anything complex to upcycle, all it requires is creativity and an ever-inspired mind.

Here are a few of my favorite ways to upcycle:
1. Turn old pallets into furniture, wall gardens, and more. I’ve even seen pallets turned into movie theater styled seating, how awesome!
2. Take an old rain barrel and turn into a composter for your biodegradable scraps and use the compost as fertilizer for your garden.
3. Wine glasses and glass bottles can be used for so many things. I used mine as wall decorations and a night light for my bathroom.
4. Turn bottle caps into tea lights with shoe lace and wax from used candles.
5. I’ve never done this one, but have always wanted to – turn an old TV into an aquarium!

I hope I got those creative juices flowing – it’s only a matter of time before you’ll be thinking about what you can do with all that stuff left on the curb on garbage day.
Have you upcycled before? If so, tell me your favorite or most memorable upcycling project in the comments section above!

4 Great Ways to Enjoy the Magical Power of Aloe Vera

aloe

by Briana

I have been using aloe vera very for many years now. I was first introduced to this amazing plant by my grandmother who was the queen of all things natural – she knew all of remedies that always seem to work. Now most of us know that aloe vera can sooth the painful sunburns that we all dread, but that isn’t the only thing our friend Mr. Aloe can do! Here are some other great ways to make use of it – read on to check them out.

1. For Your Beautiful Face
Back in my teenage years I didn’t have the best of skin. I had a lot of breakouts and my skin was very oily. My grandmother came to my rescue! She told me to use aloe vera as a facial mask, so one night I gave it a try. I took a chunk of aloe from the plant and I rubbed it all over my face, yes it is a bit slimy but I experienced amazing results! It also helps with your happy lines (aka wrinkles).

2. Drink It
If you’re having some tummy problems, aloe vera can help. Aloe helps with your digestion and gets rid of those unwanted toxins. Use with caution because aloe vera is a super laxative – however, when used in moderation your tummy will be feeling better in no time.

3. For Your Scalp
Aloe has been known to treat dandruff and help sooth an itchy scalp. Your everyday dandruff products can be very strong in smell and many of them are loaded with harmful chemical and toxins. I remember growing up my dad used Selsun Blue, I could smell it from across the hall! Instead, grab some aloe to relieve your scalp naturally.

4. For Minor Cuts
Aloe vera can also help heal minor wounds such as a cut or a graze, although it is not recommended for deeper more serious cuts. If you fall off your bike or if your child has a small scrap on her knee, avoid the squinting and the ouch! And rub on some aloe vera.

Do you have other ways that you use aloe vera? We would love to hear!

Have a Lovely Weekend + A Few Green Things

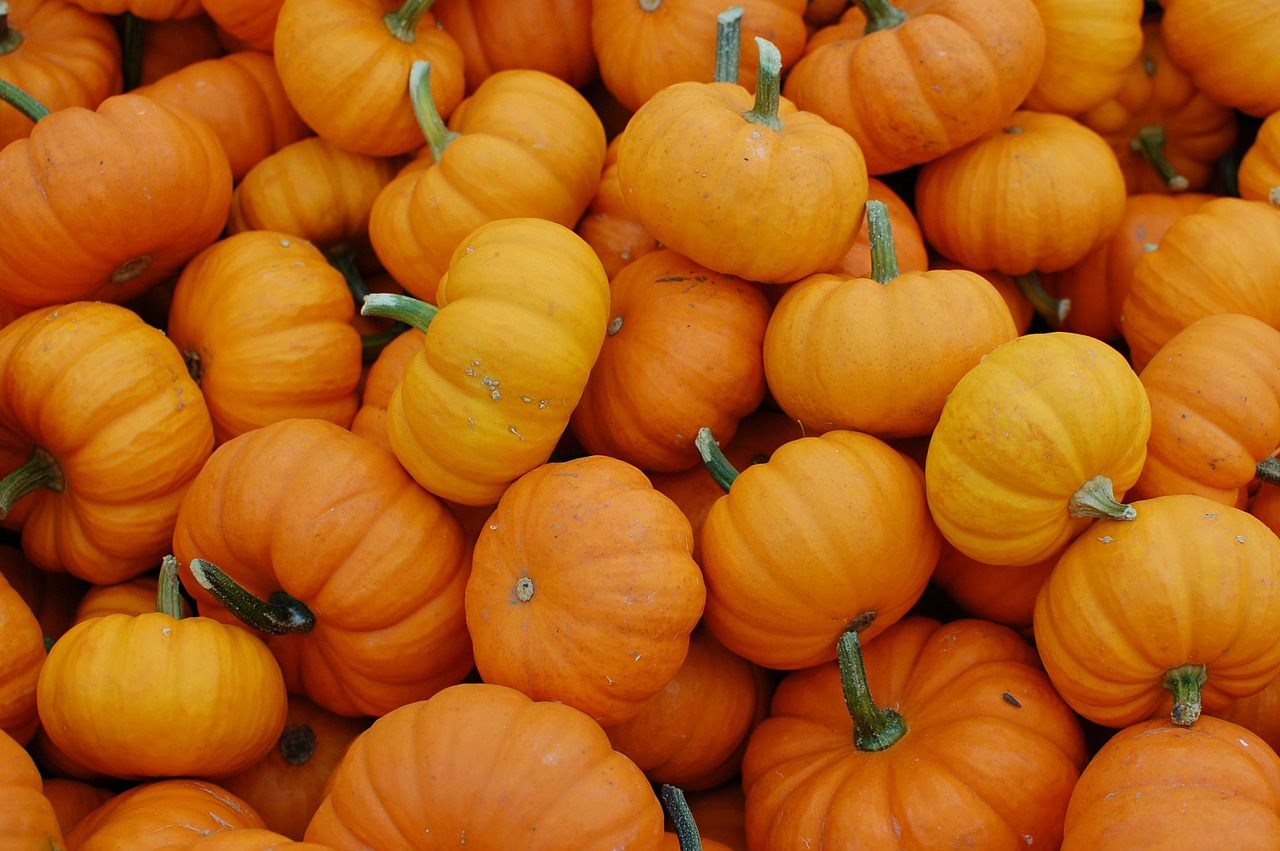
pumpkins

Hello, Friends! How are you doing? How was your week? Busy? Laid back? Anything fun and exciting to report? Any fun plans for the upcoming weekend?

I am ready for it to cool off just a little bit here in Florida, just enough so we can start eating dinner outside on the patio! There is something about eating outside that just makes any meal taste better. Do you agree? It is one of my favorite things about fall time in Florida. In fact, I should probably spend a little time cleaning our patio – it could use a good scrub down!

While I get to cleaning the patio, here are a few green things to take you into the weekend:

– I will have to keep an eye out for this caterpillar! He is super cute but super poisonous!
– These top 45 hikes in the west are making me crave the west coast!- THIS is why I must own chickens in my lifetime.
– These activists are biking across the U.S. and only eating out of dumpsters.
– Eat healthier and donate to those in need at the same time.

I hope you have a lovely, cozy weekend! I will see you back here on Monday, I miss you already!

xo,
Sweet Greens

4 Simple Tips for Saving the Bees With Your Family

1351370776_8a802889ca_o

by Beth

Bees are essential in the production of so many of our foods which depend on bees for pollination. As bee population declines, prices of many foods are going to rise and their availability is going to drop, which makes a green lifestyle more difficult for all of us!

“If the bee disappeared off the surface of the globe, then man would have only four years of life left. No more bees, no more pollination, no more plants, no more animals, no more man.”

― Albert Einstein

How can you help the bees? If everyone were able to take these small steps it could make a big difference to the struggling bee population:

1. Plant a garden that’s bee hospitable.
•  Plant a variety of flowers that bloom from early spring to late fall. Some types of bees are more active at different times of year, so make sure your garden always has something to offer!
• Flowers with single petal blossoms are more accessible to bees than flowers with double petals so focus on the singles.
• Blue, purple, and yellow flowers are most appealing to bees.
• Plant wildflowers, especially ones that are native to your area. This will help support the bees in your area that evolved to visit those species of flower.
• Be more weed-friendly.   Flowering weeds are native flowers too! Dandelions especially are a great early food source for bees. If you let a corner of your yard freely grow dandelions or clover you’ll have a lot of happy bees.
• Use organic fertilizer and steer clear of chemical pesticides. The last thing you want to do is poison your bees, of course.

2. Make a nest habitat.
A neat and pristine yard leaves no place for bees to make a happy nest. If you leave a brush pile near your bee garden, bees will have a place to nest near a convenient food source. There are also good tutorials available online for making bee posts, bee hotels and other homes for solitary bees. How fun would that be for the family?

3. Check out your local farmer’s market.
Local made honey is almost always of a better quality than store bought honey. Some store bought honey is mostly corn syrup. And if you’ve moved to a new area, eating local honey can help prevent you from developing new pollen allergies. By buying local you not only get a better product, you support the bee population in your area. It’s good for everyone!

4. If you’re feeling adventurous…
Try beekeeping yourself! Obviously this isn’t going to be for everyone, or even most people. However, small scale beekeeping can support your local bee population, give you a new source of income, and be a very unique hobby.

Though you might be a little shy of bees at first, it helps to realize how beneficial bees are to humans, animals, and the environment, and they are not typically aggressive. As kids, I’m sure we got stung because we were barefoot and didn’t watch where we were going, and most adults get stung because they panic and swat.

Bees just want to live their lives, and as they do, they help us grow our crops. Do your part to help the bees!