Author Archive | Jennie Lyon

Eben’s 10th Birthday Party

Yesterday, we had a celebration for Eben’s 10th birthday.

You probably already know how special Eben is to me! Really, he is a sweetheart and spending the day celebrating his 10th birthday was the perfect way to start the week.

This year we decided to host a surprise gathering of family members. Surprisingly, Eben said it was his favorite birthday ever – even though it was low-key! His face when he walked in the door and everyone shouted “Surprise!” was priceless.

The decorations were all from my craft closet – a yellow tablecloth (these wash up perfectly and can be used again and again), confetti and stripey hats that we have used for several parties and a handful of napkins leftover from a previous party was all that was needed! The gift wrap is either 100% recycled (unless the gifts were from family, then I am not sure) or reusable bags that we have used over and over again too! I made the tassel decorations hanging over the table with recycled tissue paper. I carefully took them down, so I can use them again in the future!

For each place setting, I used our everyday dinner plates, silverware and a wine glass filled with bubble gum. Our guests enjoyed Izze’s, organic lime rickeys, make your own organic sandwiches, coleslaw and potato salad. Easy Peasy and yummy too.

Eben wanted to help make his birthday cake this year (he is a big fan of those ultimate cake off shows). So, he and I spent Saturday afternoon making a hilarious shark cake made of organic pound cake and frosting. We used these all natural food colorings. Can you see the fishy in Mr. Sharks mouth?

One of Eben’s favorite birthday presents? This adorable set of organic stuffed elephants from Dandelion. Aren’t they adorable?

Do you host parties for your child’s birthday?
Do you prefer quiet parties with just close family and friends? Or huge blowouts?

10

Dear Eben,
Happy 10th Birthday! 10! I hope you have the most fantastic day ever. Thank you for teaching me so much during this short period of time. Your creativity, sense of humor and genuine heart have inspired me to be the best version of myself. Your ability to view the world through a different lens than most, challenges me to do the same. I love that you aren’t bound by conventional thoughts and that you always stick to your beliefs, regardless of what others think. I am so proud of the person that you have become and feel very lucky to be your Mom. You have truly completed my life, I love you so much.

xo,
Momma

HOW TO: Make a Recycled Juice Carton Desk Organizer

If your kids are like mine, they have tons of art supplies available for their creative projects. Keeping those crayons, markers and colored pencils at the ready for impromptu masterpiece creation is essential for your budding artist. You can keep all of those supplies neatly organized and easily accessible by putting them in a recycled children’s desk organizer made from an orange juice carton that was slated for the recycling bin. This recycled desk organizer can hold a lot of art supplies and can be easily toted to the car or into the doctor’s office waiting room. Read on to learn how you can create this simple desk organizer in just a few easy steps.

The New Propaganda | The Victory Garden of Tomorrow Green Posters

These green posters from The Victory Garden of Tomorrow are fantastic! Designed by Joe Wirtheim, a Portand, Oregon artist, these amazing signs make the perfect wall art. I think these would look fantastic in a kitchen or even a child’s bedroom with their fun retro-inspired graphics and great eco-friendly messages. Now, these are propaganda posters I can get behind!

Which is your favorite?

photo credit Joe Wirtheim

HOW TO: Make a Recycled Plastic Clam-Shell Greenhouse

Have you seen these odd plastic clam-shells that house fruit at your local grocery? If one happens to land in your recycling bin, you can transform it into a miniature greenhouse, perfect for starting herbs from seed. It works perfectly and holds the herbs until they are ready to bet transplanted to a pot. Wouldn’t these be perfect spring activities for the kids – each of them could have their own personal greenhouse. Do you want to start your own plastic clam-shell greenhouse? Read on for my photo step-by-step instructions.


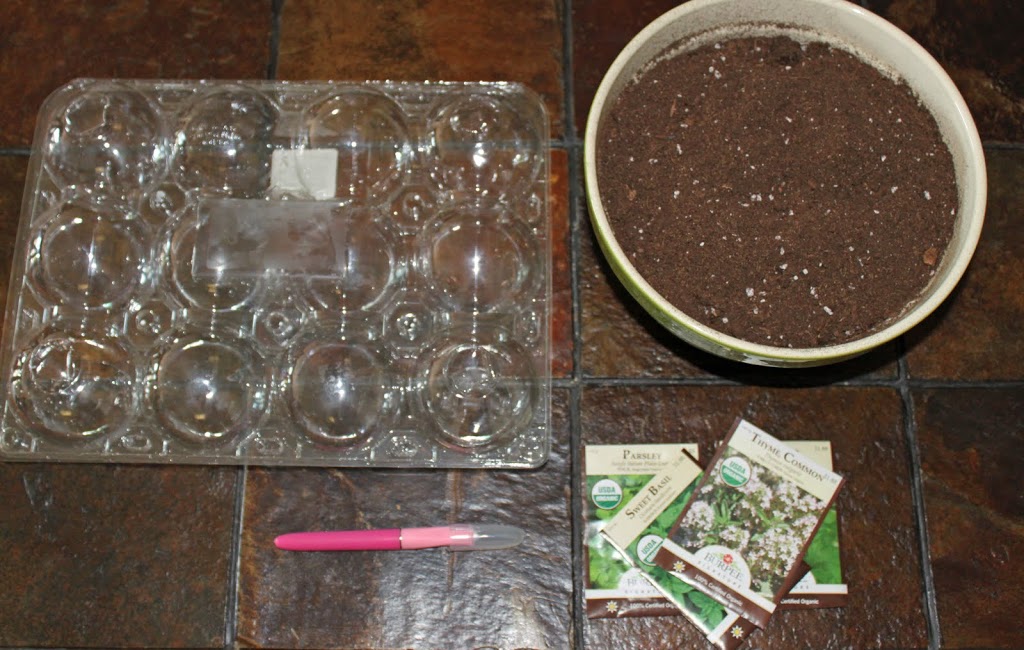
What you will need:

– a plastic clam-shell container that snaps closed
– organic potting soil
– organic seeds
– craft knife

Step 1: Prepare for Drainage

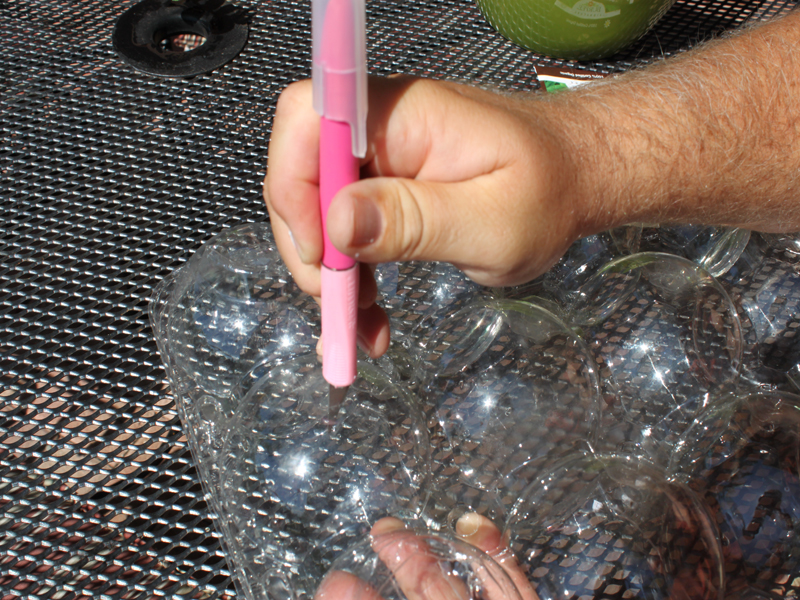
Use your craft knife to cut a small slit in the bottom of each of the “bubbles”, allowing for drainage.

Step 2: Just Add Dirt

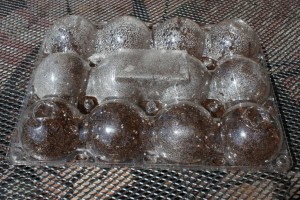
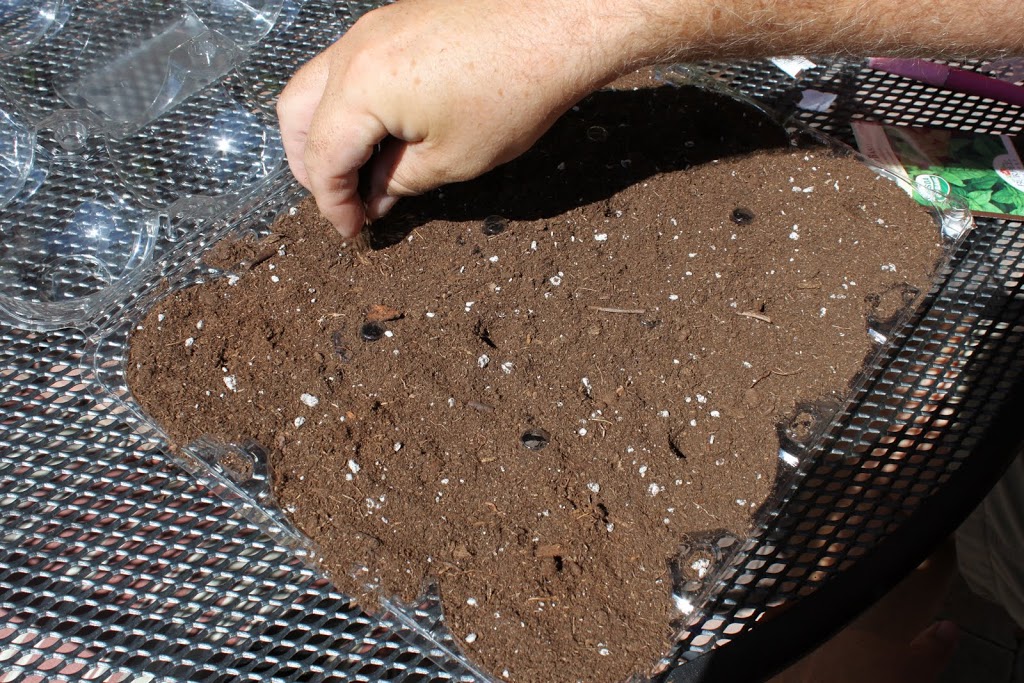
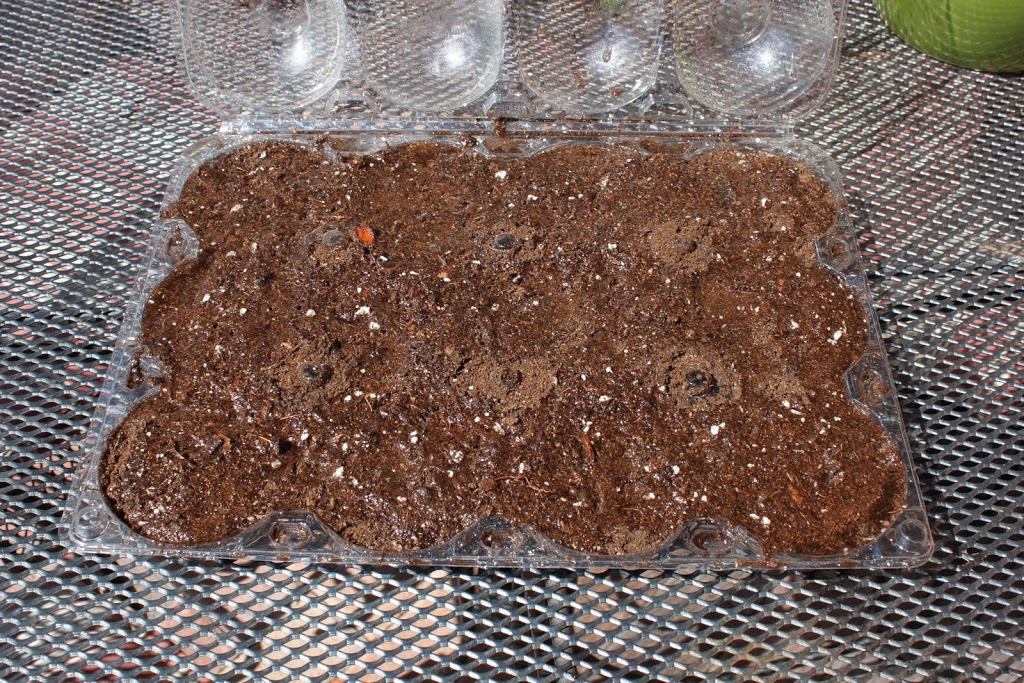
Fill each of the “bubbles” full of a great organic potting soil. Make sure you don’t cover the little holes that snaps the top and bottom of the clam shell together.

Step 3: Prepare for Seeds

Use the end of your craft knife to make a small indent in the center of each “bubble”. This is where you will plant your seeds.

Step 4: Plant the Seeds

Plant an assortment of herbs in the “bubbles”. We planted basil, thyme, parsley and cilantro!

Step 5: Just Add Water

Add enough water to keep the soil moist. You will want to check it daily to make sure that it doesn’t dry out.

Step 6: Snap it Closed

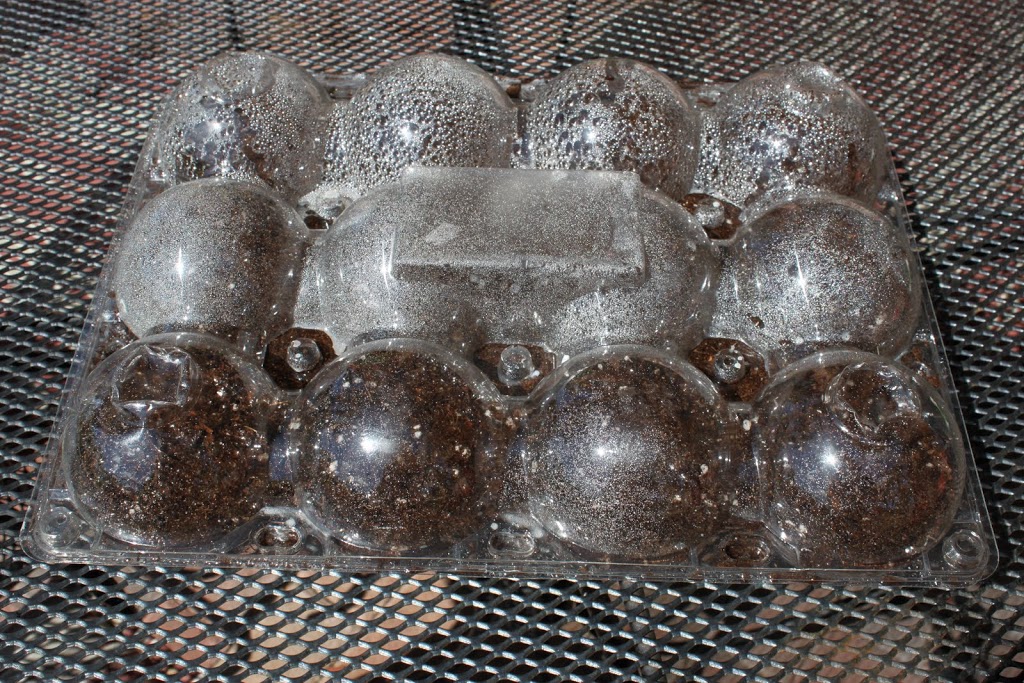
Simply snap the clam shell closed and don’t forget to check it everyday.

Step 7: Watch your Garden Grow!

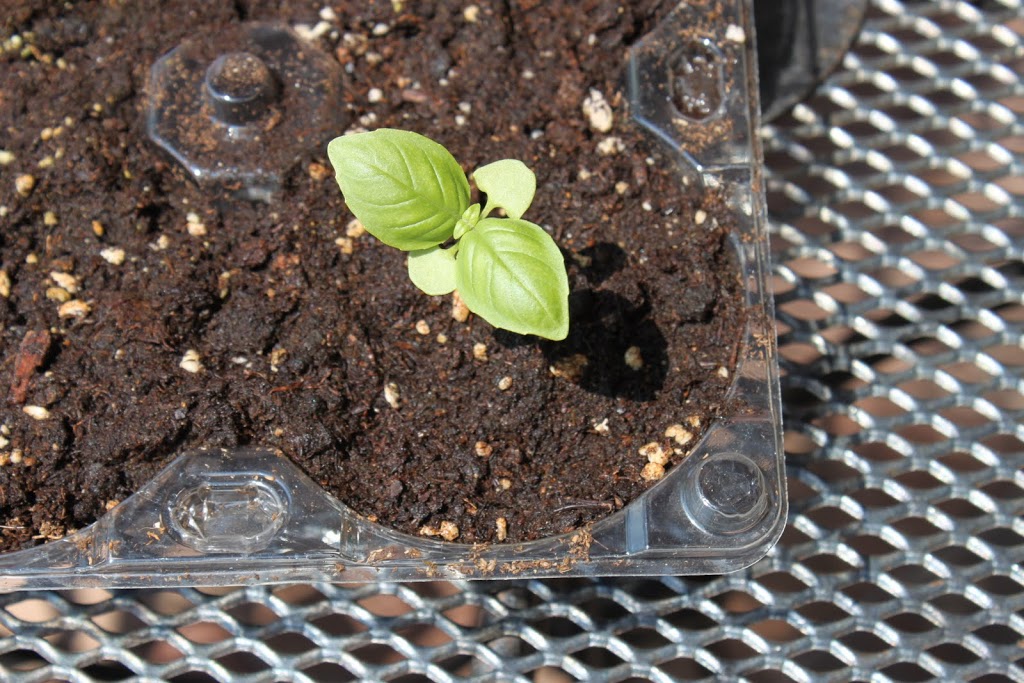
We already have basil and thyme and we are hoping to see parsley and cilantro soon.

Would you make a recycled greenhouse?